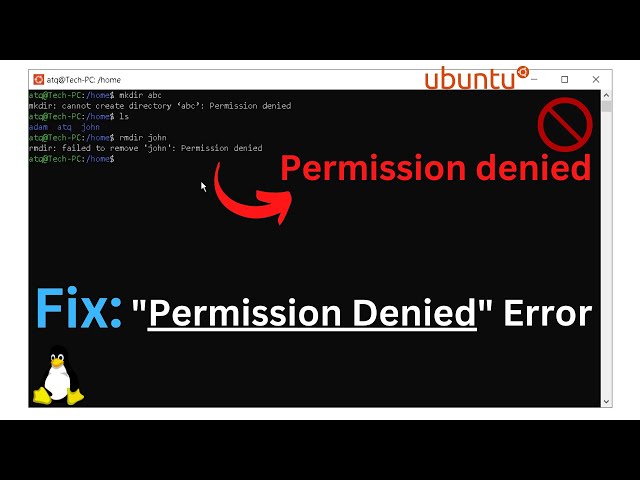
For anyone working with a Linux system, from a developer on an Ubuntu desktop to a system administrator managing a fleet of Red Hat Linux servers, the “Permission denied” error is an all-too-familiar sight. While it can be a source of frustration, this message is the gatekeeper of a powerful and essential security feature: the Linux permissions model. This system is the bedrock of Linux’s multi-user architecture, ensuring that users can only access and modify the files they are authorized to, thereby protecting the integrity and security of the entire operating system.
Understanding this system is not just about fixing errors; it’s a fundamental skill for effective Linux administration, development, and security. A solid grasp of file permissions allows you to secure web servers, manage user data, create safe collaboration environments, and troubleshoot complex application issues. This comprehensive guide will take you on a deep dive into the world of Linux permissions. We will start with the foundational concepts of users, groups, and modes, move on to the practical application of commands like chmod and chown, explore advanced topics like special permissions and Access Control Lists (ACLs), and conclude with best practices that are critical for any modern Linux environment, whether on-premise or in the cloud on AWS or Azure.
Understanding the Core Concepts of Linux Permissions
At its heart, the standard Linux permission model is beautifully simple yet remarkably effective. It’s built on three layers of access for three distinct types of permissions. To see it in action, you only need one of the most fundamental Linux commands: ls -l.
The Three Tiers: User, Group, and Other (UGO)
Every file and directory in a Linux file system has an owner and is associated with a group. The permission system uses this ownership to define three levels of access control:
- User (u): The owner of the file. By default, the user who creates the file becomes its owner. They have the most control over the file.
- Group (g): A collection of users. Every file is assigned to a group. This allows the owner to grant permissions to a specific set of users who are members of that group, which is perfect for collaborative projects.
- Other (o): This category includes every other user on the system who is not the owner and is not a member of the group. It represents the “rest of the world.”
The Three Permissions: Read, Write, and Execute (rwx)
For each of the UGO tiers, you can assign three basic permissions. The meaning of these permissions changes slightly depending on whether they are applied to a file or a directory.
For Files:
- Read (r): Allows the contents of the file to be viewed or copied.
- Write (w): Allows the contents of the file to be modified or deleted.
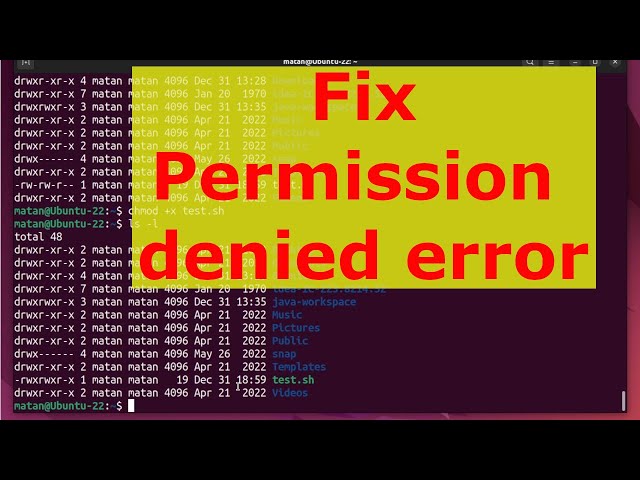
- Execute (x): Allows the file to be run as a program or script. This is essential for any executable binary or shell script.
For Directories:
- Read (r): Allows the contents of the directory (i.e., the names of files and subdirectories) to be listed using a command like
ls. - Write (w): Allows files and subdirectories to be created, deleted, or renamed within the directory.
- Execute (x): Allows the user to enter (
cdinto) the directory and access its files and subdirectories. You cannot access a file inside a directory without execute permission on the directory itself, even if you have read permission on the file.
Decoding the `ls -l` Output
Running ls -l in your Linux terminal provides a detailed listing of files and their permissions. Let’s break down a typical line of output.
$ ls -l my_script.sh
-rwxr-xr-- 1 devuser developers 48 Mar 15 10:30 my_script.sh
Here’s what each part means:
-: The first character indicates the file type.-is a regular file,dis a directory, andlis a symbolic link.rwx: The next three characters are the permissions for the User (owner). In this case, the owner can read, write, and execute.r-x: The following three characters are for the Group. Members of the group can read and execute, but not write.r--: The final three characters are for Other. Everyone else can only read the file.1: The number of hard links to the file.devuser: The username of the file’s owner.developers: The name of the group associated with the file.48: The file size in bytes.Mar 15 10:30: The last modification timestamp.my_script.sh: The name of the file.
Putting Theory into Practice: Managing Permissions with `chmod`, `chown`, and `chgrp`
Understanding permissions is one thing; managing them is another. Linux provides a suite of powerful command-line utilities for this purpose. The most important of these are chmod, chown, and chgrp.
The `chmod` Command: Changing Permissions
The chmod (change mode) command is used to modify the access permissions of files and directories. It can be used in two primary ways: symbolic mode and octal (or numeric) mode.
Symbolic Mode is more intuitive and readable. It uses characters to represent the users (`u`, `g`, `o`, `a` for all) and permissions (`r`, `w`, `x`). You use operators to add (`+`), remove (`-`), or set (`=`) permissions.
# Give the user owner execute permission
chmod u+x my_script.sh

# Remove write permission for the group
chmod g-w sensitive_data.txt

# Set the "other" permissions to read-only
chmod o=r public_info.doc

# Give everyone read permission
chmod a+r report.pdf
Octal Mode is faster for system administrators who are familiar with it. It uses a three-digit number to represent the permissions for the user, group, and other, respectively. Each permission has a numeric value:
r(read) = 4w(write) = 2x(execute) = 1
You add these values together for each tier. For example, `rwx` is `4+2+1=7`, `r-x` is `4+1=5`, and `rw-` is `4+2=6`. A common permission for web files is `644` (`rw-r–r–`), and a common one for executable scripts is `755` (`rwxr-xr-x`).
# Set permissions to rwxr-xr-x (owner can rwx, group and other can r-x)
# This is a common setting for executable scripts and programs.
chmod 755 my_script.sh

# Set permissions to rw-r--r-- (owner can rw, group and other can only r)
# This is a common setting for data files and web content.
chmod 644 config.yml

# Apply permissions recursively to a directory and all its contents
# CAUTION: Use the -R flag with care!
chmod -R 750 /var/www/my_project
The `chown` and `chgrp` Commands: Changing Ownership
Sometimes, you need to change who owns a file. The chown (change owner) and chgrp (change group) commands handle this. chown is particularly powerful as it can change the user, the group, or both at once.
# Change the owner of a file to 'jane'
sudo chown jane deployment.log

# Change the group of a file to 'sysadmins'
sudo chgrp sysadmins server.conf

# Change both the owner and group in one command
# This is the most common usage.
sudo chown jane:developers project_plan.md

# Recursively change ownership of an entire directory
# Useful when a user takes over a project directory.
sudo chown -R jane:developers /home/projects/alpha
Using these commands is a daily task in Linux administration, from setting up user home directories to configuring permissions for a Linux web server like Apache or Nginx.
Beyond the Basics: Advanced Permissions and Special Modes
The standard UGO/rwx model covers most use cases, but Linux offers more advanced features for situations requiring finer-grained control and special behaviors.
The Special Bits: SUID, SGID, and the Sticky Bit
In addition to the nine permission bits, there are three special permission bits that modify the behavior of executables and directories.
- SUID (Set User ID): When set on an executable file, the SUID bit allows a user running the program to assume the identity of the file’s owner during execution. The classic example is the
/usr/bin/passwdcommand. It is owned by root with the SUID bit set, allowing a regular user to run it and modify the protected/etc/shadowfile, but only in the controlled manner defined by the program. It appears as an `s` in the user’s execute permission slot (e.g.,-rwsr-xr-x). Use `chmod u+s` or `chmod 4755`. - SGID (Set Group ID): When set on an executable, it works like SUID but for the group. More usefully, when set on a directory, it forces all new files and subdirectories created within it to inherit the group ID of the parent directory, not the primary group of the user who created them. This is invaluable for shared project folders. It appears as an `s` in the group’s execute slot (e.g.,
drwxrws---). Use `chmod g+s` or `chmod 2770`. - Sticky Bit: The sticky bit is primarily used on directories. When set, it restricts file deletion. In a sticky directory, a user can only delete or rename files that they own, even if they have write permission to the directory. This is why you can’t delete another user’s files in the world-writable
/tmpdirectory. It appears as a `t` in the “other” execute slot (e.g.,drwxrwxrwt). Use `chmod +t` or `chmod 1777`.
# Create a shared directory for the 'webdev' group
sudo mkdir /var/www/shared
sudo chown root:webdev /var/www/shared

# Set permissions so only owner and group have access, and set the SGID bit
# Now, any file created in this directory will automatically belong to the 'webdev' group.
sudo chmod 2770 /var/www/shared

# Verify the permissions
# The output should show 'drwxrws---'
ls -ld /var/www/shared
An Introduction to Access Control Lists (ACLs)
The biggest limitation of the standard model is that you can only define permissions for one user and one group. What if you need to grant access to a file to user `alice`, user `bob`, and the `editors` group? This is where Access Control Lists (ACLs) come in. ACLs are a layer on top of the standard permissions that allow you to specify permissions for multiple additional users and groups. The primary tools are setfacl (set file ACL) and getfacl (get file ACL).
Best Practices and Common Pitfalls
Knowing the commands is only half the battle. Using them wisely is what separates a novice from an expert system administrator and is crucial for maintaining a secure and stable Linux server.
The Principle of Least Privilege
This is the golden rule of Linux security. Always grant the minimum level of permissions required for a user or application to function. Never grant broad permissions out of convenience. The most common and dangerous mistake is using chmod 777 to “fix” a permission problem. This makes the file or directory readable, writable, and executable by everyone on the system, creating a massive security vulnerability, especially in a shared environment or on a public-facing web server.
Understanding `umask`
The umask command sets the default permissions for newly created files and directories. It works by “masking” or subtracting permissions from the system defaults (666 for files, 777 for directories). A common `umask` of `0022` means it subtracts `— -w- -w-`. This results in default permissions of `644` for files and `755` for directories, which is a secure and sensible default for most systems.
Automation and Auditing
In modern Linux DevOps environments, managing permissions manually is not scalable. Configuration management tools like Ansible, Puppet, or Chef are used for Linux automation, ensuring that permissions are set consistently and correctly across hundreds or thousands of servers. Furthermore, it’s good practice to periodically audit permissions. You can use `bash scripting` with commands like `find` to locate files with insecure permissions.
# Find all files in /var/www that are world-writable (a potential security risk)
find /var/www -type f -perm -002

# Find all files owned by the user 'apache' with the SUID bit set (highly suspicious)
find / -user apache -perm -4000
Conclusion
Linux permissions are a cornerstone of the operating system’s security and multi-user capability. By moving beyond simply reacting to “Permission denied” errors, you can proactively build more secure, stable, and manageable systems. We’ve journeyed from the fundamental UGO/rwx model to the practical application of chmod and chown, and on to advanced concepts like the SGID bit and ACLs. The key takeaway is to always operate with the principle of least privilege in mind, avoiding overly permissive settings like `777` at all costs.
As a next step, challenge yourself to use the symbolic mode of chmod for a week to better internalize the relationships between users and permissions. Explore the getfacl and setfacl commands on a test directory to see the power of ACLs firsthand. For those in high-security environments, this knowledge serves as a critical foundation for understanding more advanced Mandatory Access Control (MAC) systems like SELinux and AppArmor. Mastering permissions is a vital step on the path to becoming a proficient Linux professional.


